BLI 1929 Model A Track Inspection Sedan

When originally released (2009?), I was late to the pre-order party and only managed to track down a DC version of this HO scale track inspection vehicle. The DCC versions were sold out long ago. So, I had to resort to converting this DC model to DCC.

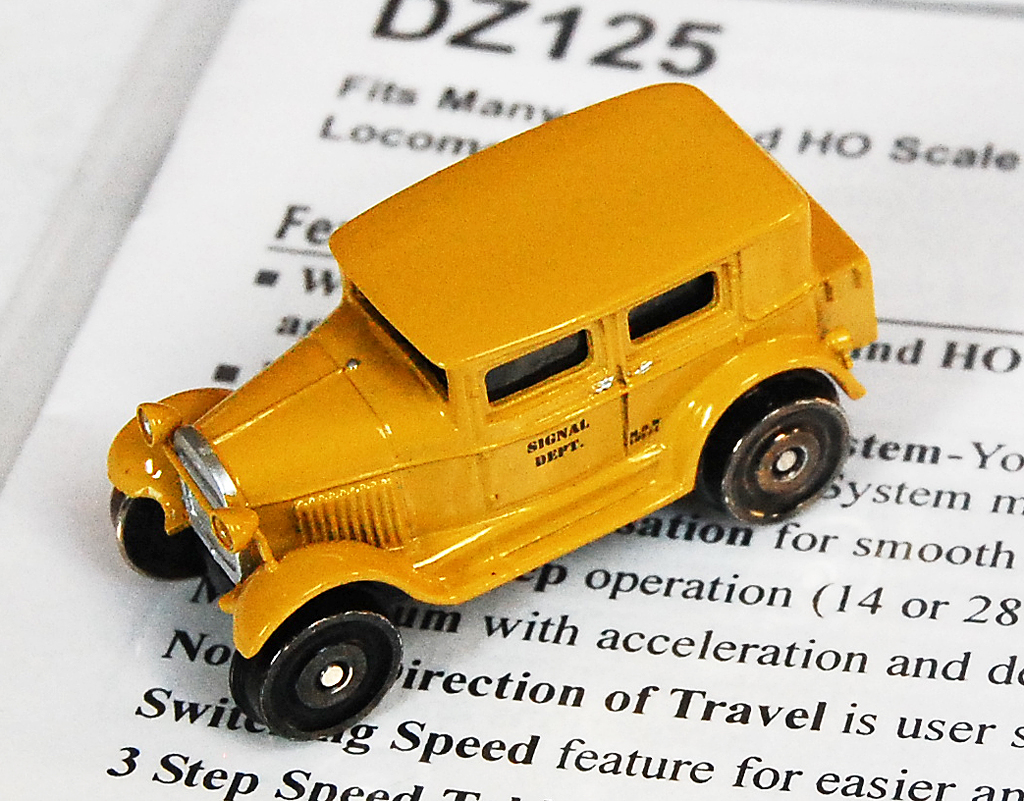
These tiny HO scale inspection vehicles were manufactured by Broadway Limited Imports and sold exclusively through Factory Direct Trains in both DC and DCC versions. When I went shopping, the only ones available at the time were the DC versions, but at less than $30, I grabbed one with the hope of converting it to DCC later. To do this conversion, all I needed was a tiny DCC decoder, magnifying headgear, and the hands of a neurosurgeon. The first two items were easy. The decoder is a Z-scale DZ125 from Digitrax, and I already had the appropriate headgear. The hands? Well, we’ll see.


Now we open it up. It’s easy. Remove the two screws on the bottom of the chassis, and the body shell comes off. Under the shell is a steering wheel (for what?) mounted to the motor cover. The motor cover is attached with two screws at the rear. Once that comes off, just pop out the helical drive/pinion gear assembly.


With the motor cover and gear assembly removed, the motor simply slides right out. Next I removed the electrical contact wiper on the right side of the vehicle. The wiper is held on with two screws (already removed in the photos), and some electrically insulating plastic spacers. The wiper picks up current from the righthand side wheels and passes the current to one of the motor terminals. Current from the lefthand side wheels is passed through the entire vehicle chassis. A loop connector screwed to the chassis passes this current to the other motor terminal. The good news is that the motor is electrically isolated from the chassis, so there’s no modifications needed for that.


I desoldered the motor leads from both connectors. After that it was a simple matter of following the decoder wiring instructions to connect the color-coded wires to the wiper, chassis connector and motor terminals. This was a bit tricky here because of the lack of room in the tiny vehicle. I had to shorten the decoder wires to the absolute minimum length, leaving little room for error. There’s just not enough room to stuff excess wire in the body shell, so the wires have to be cut to the exact length needed.

Everything in place now and ready to place the shell back on. The remaining decoder wires were for lighting, but I don’t think I’ll be attempting to add headlights to this vehicle. They are REALLY tiny! So, those extra wires got cut. There was enough room to put the decoder behind the steering wheel, and plenty of headroom above the motor for the decoder to sit right where you see it here. If needed, the steering wheel can be removed without affecting the vehicle appearance, because you can’t see through the windows!
All things considered, the conversion to DCC wasn’t as difficult as I thought it would be. It is very easy to take the vehicle apart and its internals are uncomplicated. If you were late to the party in getting your DCC version like I was, you can probably snag a DC version for cheap and do the conversion yourself.
[wordbay]ho track inspection vehicle[/wordbay]
Originally posted 2015-10-30 20:52:51.
Leave a Reply